Thursday, November 2, 2017

OSAT Blog Hop - Winter Holiday

Hello and Happy Thursday!  I hope you are having a fabulous day!  I'm super excited to be joining my friends for the November One Stamp At A Time Winter Holiday Blog Hop!


If you've already been hopping you should have landed here from Jenny Hall's fabulous blog and thank you for continuing on!  If you are starting with me you'll want to be sure you stop by every blog for some awesome Winter Holiday Inspiration.  As for me.. Christmas is where it's at!  It's that time of year where most of us celebrate the birth of Jesus.  For me Jesus is the reason for the season!


Here's my card and project...


I love the Good Tidings Stamp Set from Stampin' Up! and thought it looked amazing with the Plaid Paper from the Christmas Around the World DSP.   The "Merry Christmas" banner was from the Santa's Sleigh Stamp Set.  I used Washi Tape to omit inking with Versamark the "wishes" from "Merry Christmas Wishes".   Then heat embossed the sentiment in White.  I also added a few Pretty Pink Posh Onyx Sequins because of course you have to have a little bling!


Here is the inside of my card...


I couldn't help but use the Merry Musical Specialty Paper on the inside.  I loved the sheet with "Deck the Halls" and thought it went perfectly since I had a Bough of Holly on the card.   

For my project I used a mini pizza box as a treat box and used more of the Merry Musical Specialty DSP matted in black on the top and all of the sides.  I used the same size oval framelits to make my tag and the same Good Tidings stamp set to make the tag.  I love using circle framelits or oval framelits to make tags by punching a hole on one of the sides.


Thanks so much for stopping by!  The next stop on the hop is amazing Rick Adkins!  Just click the next button and you'll be there!


Tuesday, October 31, 2017

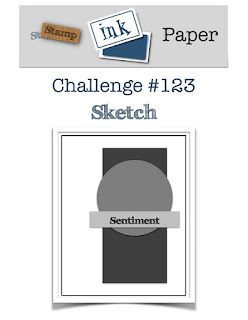
SIP Challenge #123 Sketch Challenge with Smitten Mittens

Hello and Happy Tuesday!  Hopefully your week is off to a good start.  As usual on Tuesday I'm over at Stamp, Ink, Paper with my Challenge Card.  This week is an awesome sketch by the talented Dena Rekow!  I really love it and I'm sure you will too!


Of course I'm back on my mission to get more Christmas cards done so once again I took this chance to turn a sketch into one of my Christmas Cards.  I know that many of you make multiple of card designs.  I hardly ever do that.  I rarely duplicate any of my cards.  Weird.. well yep, I guess so!  It certainly takes me much longer to get my Christmas Cards done!  So this time I used the Smitten Mittens Bundle along with some of the Quilted Christmas DSP.


My color scheme was Real Red, Basic Black, Garden Green, and White which worked perfectly from  Quilted Christmas DSP.  The plaid banner behind the mitten was from the Christmas Around the World DSP.. I'm really loving plaids this year!

Here is a list of all of the products used:

Stampin' Up! Smitten Mittens Bundle
SU Real Red Cardstock
SU Basic Black Cardstock
SU Garden Green Cardstock
SU Whisper White Cardstock
SU Real Red Ink
SU Quilted Christmas DSP
SU Christmas Around the World DSP
SU Softly Falling Embossing Folder
SU Layering Circle Framelits Dies
Lil' Inker Stitched Rectangle Dies
Pretty Pink Posh Sparkling Clear Confetti

Thanks so much for stopping by!  Blessings, Tina

Wednesday, October 25, 2017

PCC265 Sketch Challenge with Stampin' Up! Daisy Delight


Hello and Happy Wednesday!  Hope you are having a fabulous week so far!  I'm getting packed and ready for an 8 day cruise so believe me... I'm super ready for the work week to be over!  Things are finally settling down at work and it's a great time to get away from the office for a while!  I'll be working on blog hop and design team cards all week so that I'll have everything posted before I leave.  Today I'm over with my friends at the Paper Craft Crew with a card for a new sketch challenge!  Hope you'll head over and check it out!


I decided to finally use my Stampin' Up! Daisy Delight Stamp Set and coordinating Daisy Punch.  I really like it and can't believe that I haven't already been using it!  I needed to make a quick birthday card for a friend so this worked out to be an awesome sketch for that!


Here is a list of all of the Products used:

SU Daisy Delight Stamp Set
SU Thoughtful Banners Stamp Set
SU Daisy Punch
SU Leaf Punch
SU Tempting Turquoise Cardstock
FSJ Banana Cream Cardstock
FSJ Lemon Grass Cardstock
SU Tempting Turquoise Ink
SU Daffodil Delight Ink
SU Misc Retired DSP
Misc. Enamel Dots

Tuesday, October 24, 2017

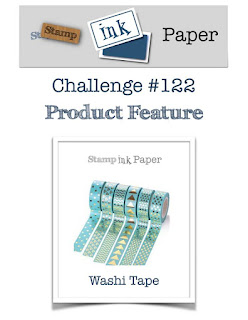
SIP Challenge #122 Product Feature - Washi Tape!

Hello and Happy Tuesday!  I hope your week has gotten off to a good start!  Jeff and I spent Saturday in Knoxville watching our sweet little granddaughter, Laken, play softball.  It was her only tournament this year and since I've seen her older sister play in several tournaments, I had to make this trip!  Oh and the good news was that they won their age bracket!  Here's a few shots that I couldn't help but share.. lol  it was a Halloween Tournament so they played in costumes.  Laken's team played as the Pink Ladies softball team from Grease!


It started off cool that morning and believe me by the end of the day it was time to peel that little jacket off!  lol  Laken is absolutely adorable and just as sweet as she is cute!

Well back to Tuesday and the matter at hand.  You know what Tuesday means, right?
It's time for another Stamp, Ink, Paper Challenge!  This week is all about Washi Tape


Since I had some Washi Tape with trains on it I decided to pull out the Classic Traveler Stamp Set along with Lovely as a Tree!  


Luckily I had been able to get the coordinating dies from Dies by Dave for the Traveler Stamp Set before he stopped selling them.  I will guard those with my life.. lol


Tip:  When using Washi  Tape over DSP or dark Cardstock, mount the Washi Tape on White Cardstock and then cut out around it.  It makes for a cleaner look and makes the Washi more stable.  I use snail to adhere the mounted Washi Tape to the DSP or Cardstock.   

Products used:

SU Traveler Stamp Set (retired)
SU Lovely As a Tree Stamp Set
Hero Arts Everyday Sayings Stamp Set (sentiment)
110# Neenah Classic Solar White Cardstock
SU Whisper White Cardstock
SU Basic Black Cardstock
SU Mossy Meadow Cardstock (retired)
SU Mossy Meadow Ink (retired)
Versafine Black Onyx Ink
Versamark Embossing Ink
SU White Embossing Powder
SU Wood Textures Designer Series Paper Stack
SU Layering Circle Framelits Dies
Dies by Dave dies for the Travler Stamp Set
Misc Train and Diagonal Stripe Washi Tape
FSJ Natural Twine
Misc Black Enamel Dots
SU Dimensionals

Wednesday, October 18, 2017

PCC #264 Color Challenge with Stampin' Up! Brightly Lit Christmas!

Hello and Happy Hump Day!  I always feel like when I've made it to Wednesday I can get through the rest of the work week.  This weekend will be another trip to Knoxville to see three of our granddaughters.  That's something to look forward to for sure!

Well of course since it is Wednesday that means another Paper Craft Crew Challenge.  This week's card is for a color challenge.  


I have to tell you that at first I wasn't feeling it.  I've made so many Halloween and Fall cards and I really didn't want to go in that direction.    The great thing about this color challenge is that we can pick a mystery color to add to the mix.. well I wanted to make a Christmas card so I went with Red!


During World Card Making Day, I bought the Stampin' Up! Brightly Lit Christmas stamp set as one of their specials so of course I had to use it!   The light post and sign holder were stamped in Versafine Black Onyx and clear embossed on a 4 x 5 1/4" piece of Whisper White Cardstock.   I used a sponge with a small amount of Pumpkin Pie Ink on it to sponge the light in the light post.  The sign was stamped in Lemon Lime Twist directly under the sign holder.  MFT Die-namic Stitched Scallop Basic Edges Dies were used to cut a curved edge on the panel.  I mounted the panel on a 4" x 5 1/4" piece of plaid DSP from the Christmas Around the World DSP pack.  I then mounted that onto a piece of Lemon Lime Twist that measured 4 1/8" x 5 3/8" and attached that to a Real Red top folding Card Base.  I decided the lamp post needed the bow from the stamp set so I stamped it in Real Red on a scrap of white cardstock.  The bow was fussy cut and a Real Red marker's brush tip was used to color the edges so no white was showing.  I added a strip of White Glimmer paper hand cut like a snow bank to the bottom of the white panel to ground my light post.  To finish this off I used some Journey Glaze to cover the bow as well as the glass on the lantern.  I really love how this one turned out.  I've been struggling with Lemon Lime Twist so I was glad to be able to use it on a Christmas Card and feel good about it.  That color was just a bit of a stretch for me. 

Thanks so much for stopping by!  Blessings, Tina

Tuesday, October 17, 2017

SIP Challenge #121 with Stampin' Up! Vintage Leaves

Hello and Happy Tuesday again!  I had a wonderful weekend and have survived Monday again so all is good, right??  lol  As usual Tuesday means another Stamp, Ink, Paper Challenge and this time is another Tic-Tac-Toe with lots of options!


My Card qualifies to go in many directions with this Tic-Tac-Toe.  It could go down the first column, Leaf, Orange, and Twine, or straight across the middle with Orange, Wood and Embossing, or Diagonal with Die Cut, Wood and Twine.  How's that for coloring within the lines this time?  lol
I decided to pull out my favorite fall stamp set by Stampin' Up! Vintage Leaves and the Leaflet Framelits.  I also revisited a fun technique called Joseph Coat.   


I started out by sponging Daffodil Delight, Crushed Curry, Pumpkin Pie, and Wild Wasabi onto Bristol Smooth Cardstock.   I stamped the leaves onto the ink blended cardstock with Versamark and then clear embossed them.  Once embossed I used a brayer to bray Early Espresso Ink over the embossed leaves.  Once the ink dried, I used the coordinating Leaflet Framelits Dies to cut the leaves out.  I did the same type of ink blending onto another Bristol Smooth Cardstock for the background on this card.   The ink blended layer was cut into a panel with Avery Elle Wonky Stitches Dies.  I double matted it with Early Espresso Cardstock and then Pumpkin Pie Cardstock and then attached it to an Early Espresso A2 Card Base.  I used the smaller rectangle from the Avery Elle Wonky set to cut out a piece of the Wood Textures DSP.  I matted it with Early Espresso and then added it to the center of the card.  I stamped the sentiment (from the September Paper Pumpkin kit) using my Misti in Versamark first and then Early Espresso Ink and then clear embossed it.  The leaves were arranged in a bundle of sorts and then used Natural Twine to tie a bow in it.  The leaves were attached with dimensionals.  The smaller ones were adhered to the front with Tombow liquid adhesive. 

Thanks so much for stopping by!  Blessings!  Tina

Thursday, October 12, 2017

OSAT Blog Hop - Fall/Halloween!

Hello and Happy Thursday... and yes, almost Friday!  Woo Hoo!  I'm hopping with a bunch of super creative friends today for One Stamp At A Time's Fall Halloween Blog Hop!  If you're ready for some awesome Fall and Halloween inspiration you'll want to be sure to hop all the way through!   If you've already been hopping, you should have landed here from the fabulous Kelly Acheson's Blog and thank you for continuing on!  


I decided to finally use a Stampin' Up! stamp set that has been in my collection since last year but not inked up yet.. Foxy Friends!  It has an awesome coordinating Fox Builder Punch.  Here's what I came up with for my card......


I love all of the creatures that can be made with the Foxy Friends stamp set... so many options!  I thought the sign was a great way to showcase the sentiment and it gave me a chance to add a little cardinal!  My husband and I love birds and cardinals are out favorite!  The adorable Keep Calm and Give Thanks Sentiment was from the September Paper Pumpkin Kit and I know I'll be using it a lot!  

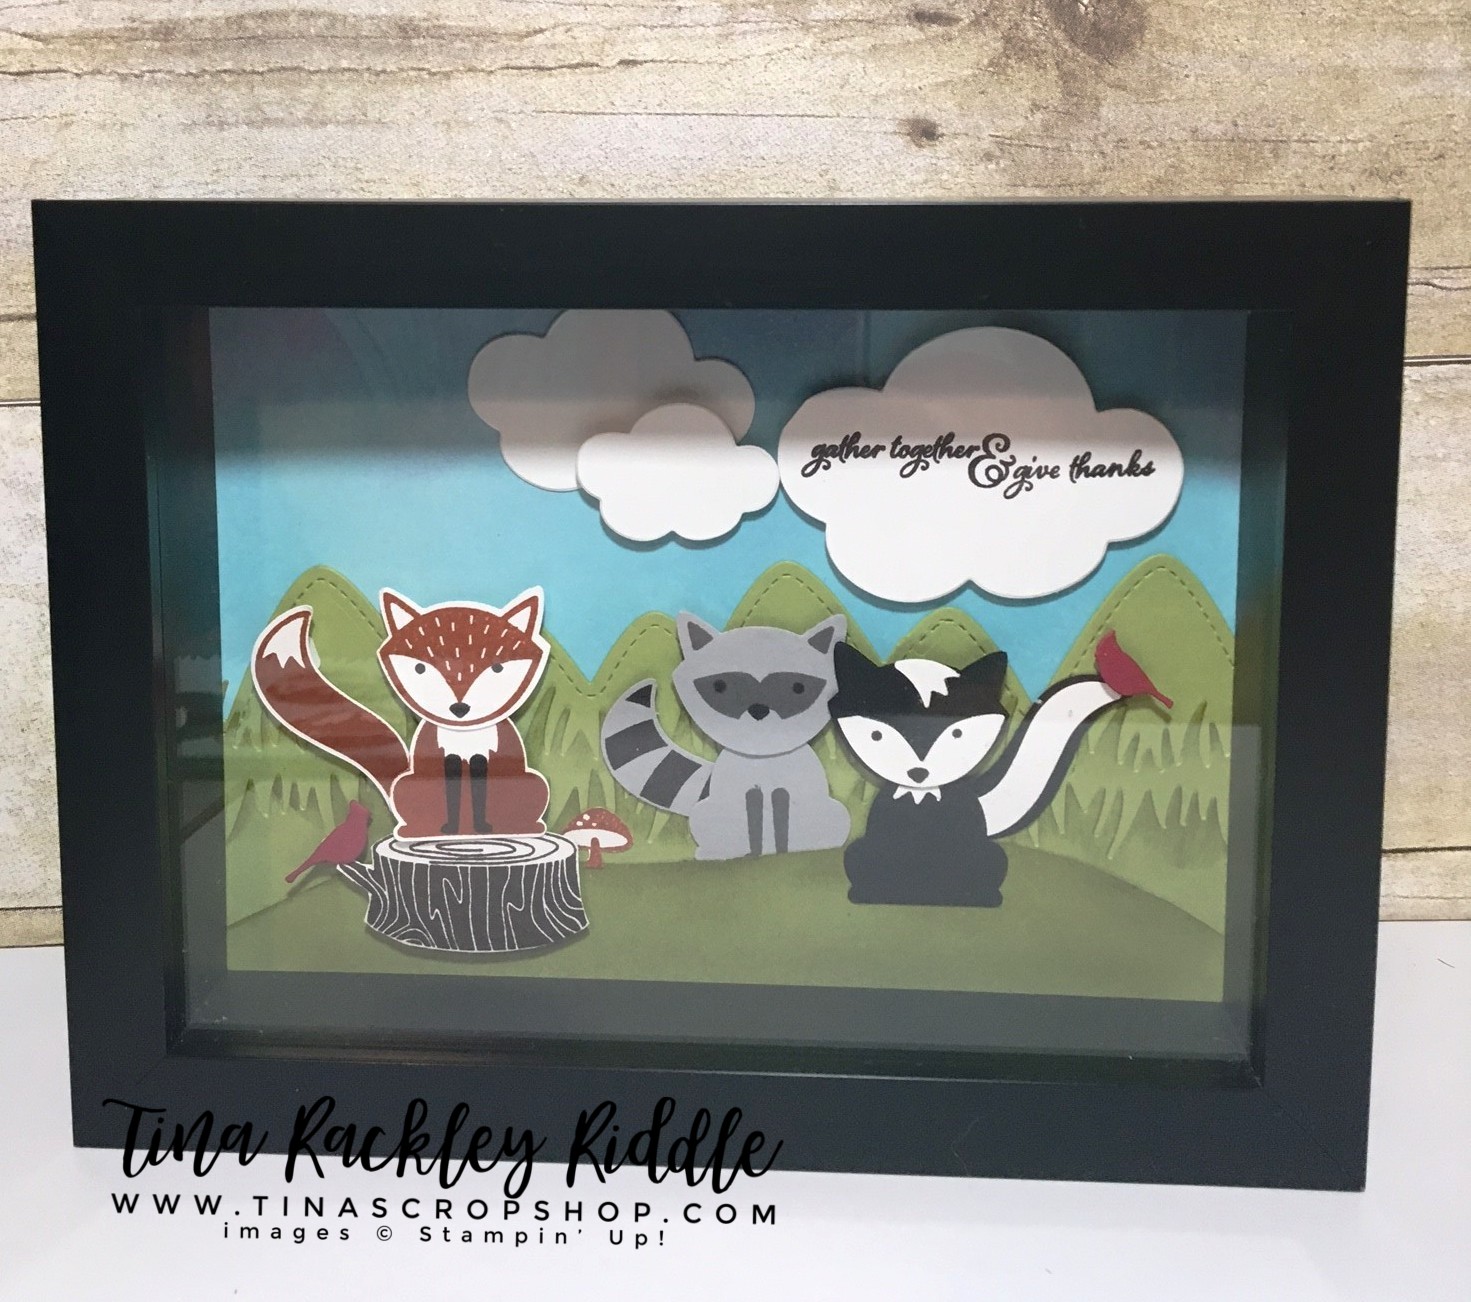
And here is what I came up with for a coordinating project....


I picked up this adorable little 5" x 7" shadow box that can used with seasonal projects.  I loved the sentiment "gather together & give thanks" from the Painted Harvest stamp set!  It's one of my favorites!  You'll notice I snuck a couple of cardinals in this one as well! :)

Thanks so much for stopping by!  If you'll click the next button you'll land at Dena Rekow's Creativity Cave!  Dena is one of my all time favorite stampers and I LOVE her videos on You Tube!  If you don't subscribe, you should!  She is unbelievably creative!!


In case you lose your way.. here is a list of all of our bloggers...

  1. Elizabeth Jeanne
  2. Jenny Hall
  3. Kelly Acheson -
  4. Tina Riddle ... You are Here!
  5. Dena Rekow
  6. Maria Willis
  7. Lori Mueller
  8. Melissa Davies
  9. Megan Thompson
  10. Jennifer Hill
  11. Sue Plote
  12. Pam Staples
  13. Jessie Holton
  14. Rick Adkins
  15. Marisa Gunn