Showing posts with label Handmade Card. Show all posts

Thursday, July 14, 2022

OSAT Blog Hop - Time to Saleabrate! July 2022


Hello and Welcome to the July 2022 One Stamp At A Time Blog Hop featuring products from the new Sale-A-Bration brochure!  These are products you can get free with a $50 or $100 purchase from Stampin' Up!  If you have already been hopping along, thank you so much for continuing on.  If you are starting at my blog, you will definitely want to take the hop and check out all of the awesome inspiration from some amazing Stampin' Up! Demonstrators!  

For my card and project today, I used 2 products from Sale-A-Bration.  The first product is the amazing Rings of Love 12"x12" DSP (free with a $50 purchase) for the background of my card and the Belly Band and background of the focal image on my treat holder.  The second product that I used are Tree Lot Dies (free with a $100 purchase)!  I absolutely LOVE these dies and they coordinate with the Trees for Sale Stamp Set in the July - December 2022 Mini Catalog!  


Isn't the background of the beautiful Rings of Love DSP gorgeous!  I love the watercolored look!  


The focal panel was cut from the Rings of Love DSP with a strip of Basic White at the bottom, using a Stitched Rectangle Die.  I stamped the sentiment in Tuxedo Black Memento Ink using my Stamparatus so that I could ensure I got a good dark sentiment image. The Christmas trees were stamped in Garden Green Ink and the detail stamp was added in Evening Evergreen Ink to match the Evening Evergreen Cardbase.  The poles, sign, and tree bases were all stamped in Soft Suede Ink.  I added the adorable little dog stamped in Tuxedo Black Ink... he totally looks like our Black Lab!


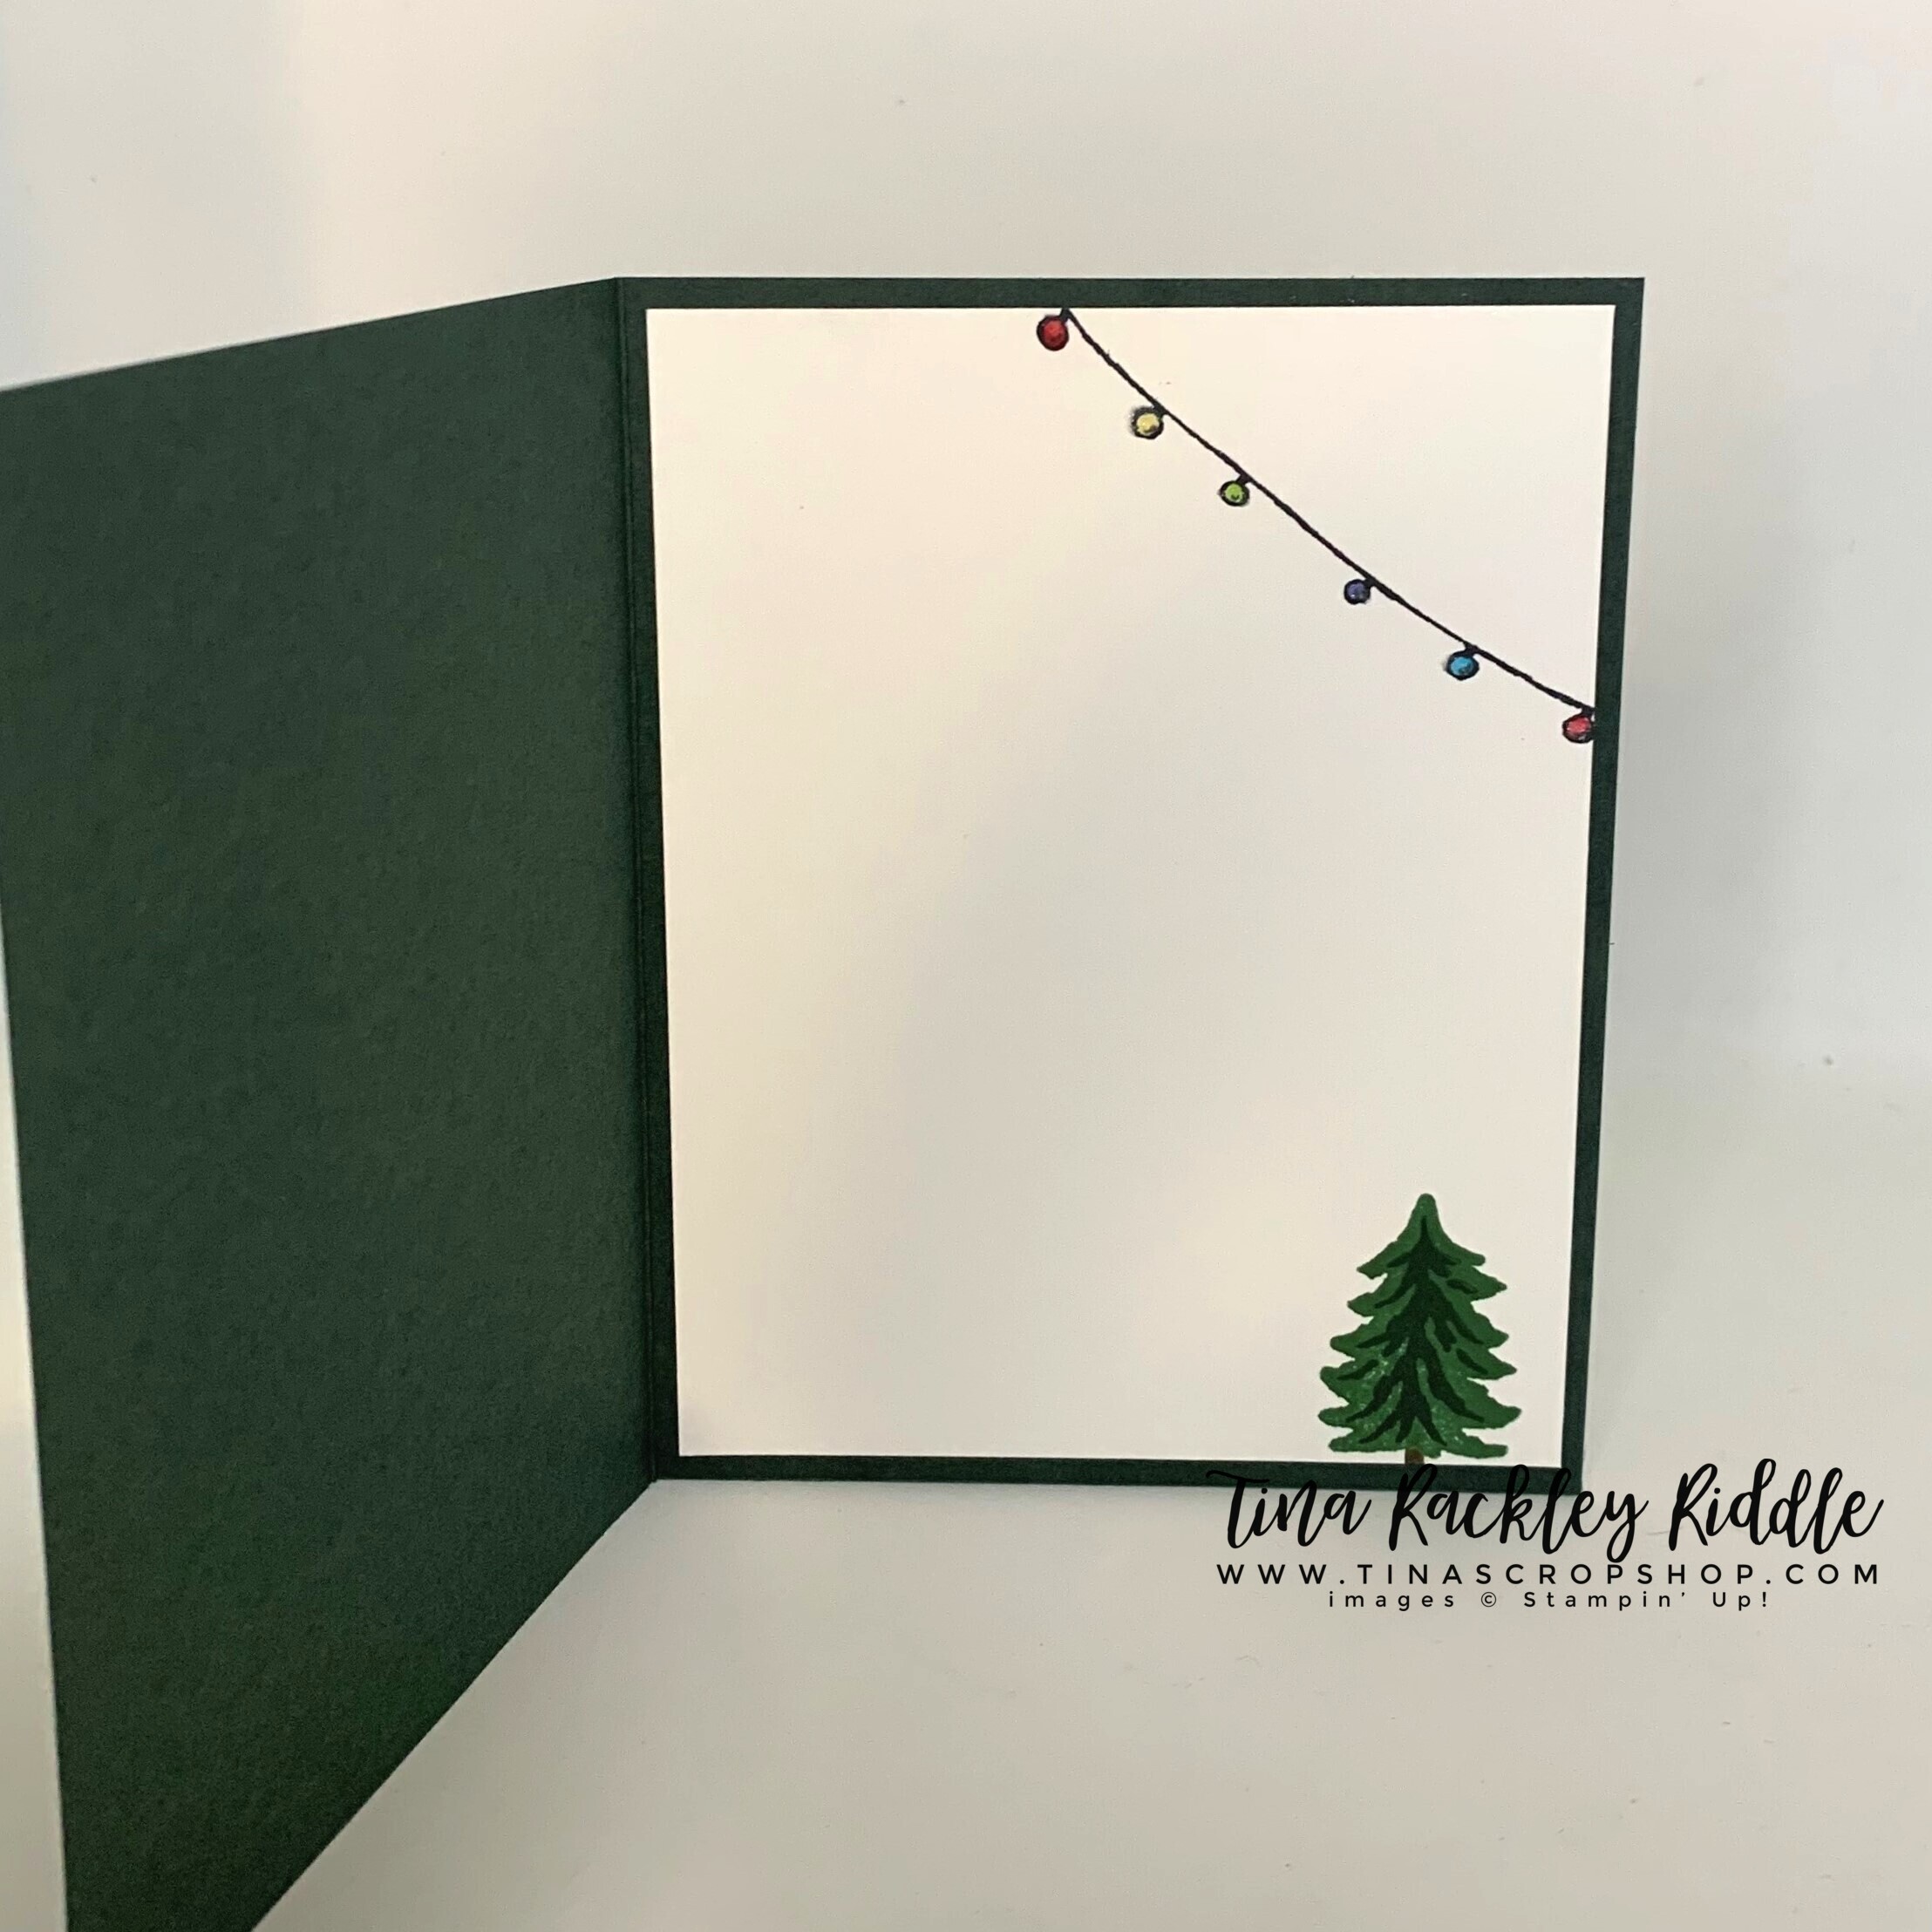
I finished up the inside really simply.  I may add another sentiment inside later!


My Belly Band for the Scalloped Kraft Treat Box was made using more of the Rings of Love DSP along with  Basic White and Rings of Love DSP Stitched Circles from the Stylish Shapes Dies!  


For the treat box, I decided to just use the Tree Lot Dies to make my trees.  I love both looks... stamped and die cut as well as die cut only.  I love the detail dies for the die cut trees!  

Thanks so much for stopping by!  Just click the name directly under mine in the below Blog Roll to continue on!  Blessings, Tina


Product List

Thursday, July 8, 2021

Brutus Monroe Abstract Umbrellas I'm Here For You Card!

 Hello Friends!  I hope you are having a fabulous week!  I'm sharing a card made with the gorgeous Brutus Monroe Abstract Umbrellas Background Stamp today!


These umbrellas are absolutely gorgeous and would be fabulous colored in but I thought they were so intricate that a simple Distress Oxide Blended Background would be just as beautiful!  I started with a Bristol Smooth Cardstock panel that measured 3-5/8" x 4-7/8" and used Blending Brushes for a smooth transition.  From the top of the panel, I began blending with Mustard Seed Distress Oxide, and then moving to Mermaid Lagoon and finishing with Picked Raspberries.  Each ink color was blended into the previous color which created a green between the yellow and blue and a purple between the blue and pink... so pretty!  I love that you can use just three Distress Oxide Ink colors and end up with five! After I finished my ink blending, I spritzed the panel with water and blotted with a paper towel to add those fun lighter splotches!  I hit my card panel with a heat tool to make sure that the Oxide Inks were completely dry and then used my Stamp Positioner to Stamp the Abstract Umbrellas in Embossing Ink and then heat embossed in Raven Embossing Powder.   Once the embossing was completely dry, I used some Pearl Shimmer Paint from my stash and mixed it with 70% Isopropyl Alcohol in a spritzer and then spritzed the panel several times for a fun all-over shimmer!


It was really hard to capture all of the shimmer in a photo but trust me... it's beautiful!  I mounted the beautiful ink blended panel onto a 3-3/4" x 5" matt of Raven Cardstock and then added that to an A2 Whitewash Cardstock card base.  I heat embossed the "i'm here for you" sentiment on a 1/4" strip of Raven  Cardstock from the Bunches of Love stamp set in Alabaster Embossing Powder and added it with some foam tape to the card front.  Last but not least I added three PPP Sparking Clear Confetti Sequins to finish it off!  I love how it turned out and can't wait to send it off to someone that needs to know I'm here for them!


Thanks so much for stopping by!  Blessings, Tina

Tuesday, October 8, 2019

SIP Challenge #203 - Halloween Challenge with Lawn Fawn Cute Cobweb Dies

Hello and Happy Tuesday!  I've had quite the weekend as my fourth granddaughter was born on Saturday!  She was actually due on October 4th but there were a lot of circumstances that made the labor much longer than we expected, causing us to have a little October 5th baby.  Since my daughter had already given birth to three girls and none of her labors were more than 7 hours, we expected this time to be the similar.  Well let me tell you... every baby and every delivery is different.  Emersyn had her little hand above her head which was the first glitch.  Almost every time Christine had a contraction, Emersyn's heart rate dropped.  Later on, she finally moved her hand and was engaged head first but she was face up instead of face down and that caused issues.  Christine had been working with a mid-wife at the Hospital but she was unble to flip her into position so her Doctor was contacted to come in.  Dr. Braxton was able to successfully flip her to a face down position and finally after 16 hours of labor, Emersyn was born at 5:45am on October 5th.  It was quite a night for this old lady.  I was up for around 26 hours and when I went to sleep, I only slept 2 1/2 hours Saturday morning.  We are so blessed that everyone is happy and healthy!  So let me introduce you to Emersyn Rae Haltaufderheide!  She weighed in a 6lbs, 14 oz and was 20.5" inches long!


I'm home now and back to work and trying to get everything else back to normal as well.  That being said, it's time for another Stamp, Ink, Paper Challenge and this time it's all about Halloween.


  I don't have a lot of current Halloween products so I went with a simple card utilizing the fun little Lawn Fawn Cute Cobweb Dies.


This was super duper easy.  I started with a 4" x 5 1/4" panel of Tim Holtz Watercolor Paper and some Spiced Marmelade Distress Ink that I blended into the upper left corner.  I spritzed a little water onto it after ink blending and then dried it with my heat tool.  I used the Lawn Fawn Cute Cobweb to cut out my cobweb and spiders from Basic Black SU Cardstock.  I used some Gina K Designs Connect Glue to adhere it to the upper left corner.  The larger spider was attached using very thin strips of foam tape.  The "eek" was cut from an Amuse Studios die that I bought a few years ago on clearance.  I cut it out three times and layered it and then added it with more of the Connect glue.  I added clear Wink of Stella over the spiders and the "eek" to add some shine.  Finally I added a few black splatters to finish this one off!  

Thanks so much for stopping by!  Blessings, Tina