Friday, October 24, 2014

Christmas Gift Card Holder

Happy Friday!  Today I'm working on some projects for tomorrow's "Boo-tique" Fall Craft Fair in Manchester, TN.  This will be my first craft fair booth so I'm hoping that it goes well. 


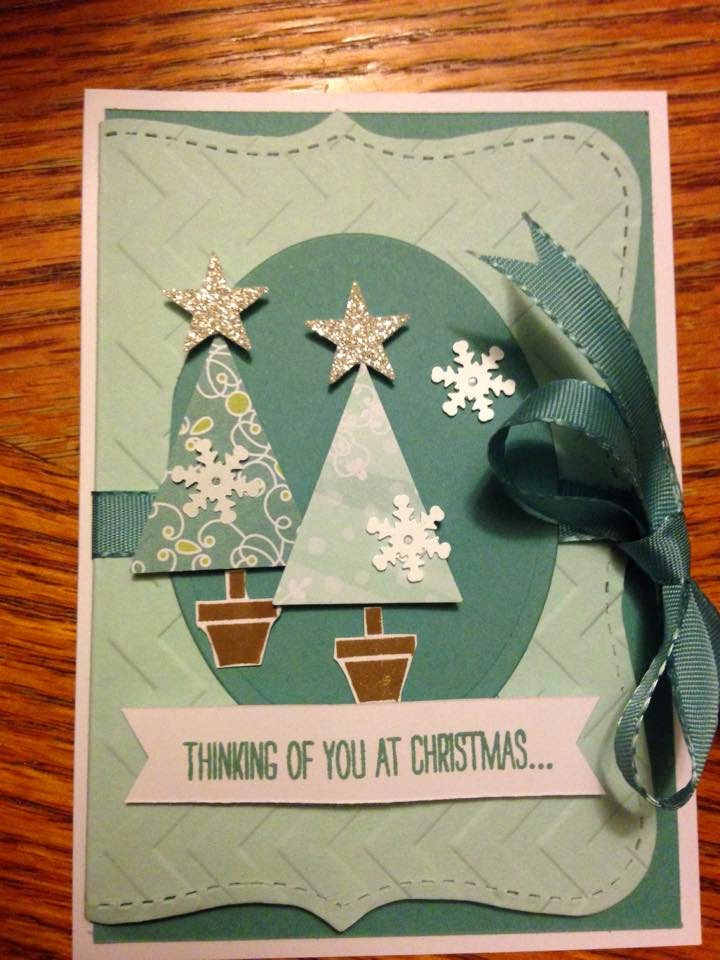
Today I want to share my newest project, a Christmas gift card holder.  This project was inspired by Stamping School.  If you are not a Stamping School member, I highly recommend it.  Here's the link in case you'd like to check it out:  http://www.stampingschool.com/


I had to change a few things up because some of the items that I needed to case their design I didn't have yet.  For example, Stampin' Up!'s new Christmas Tree Punch was backordered so I didn't have mine yet.  I used the triangle from the Pennant Builder Punch and the fussy cut base of the tree is from a retired set "Pennant Parade".  Additionally I did not have silver ribbon so I used Lost Lagoon.  All that being said, I'm still very happy with the results.  What do you think?


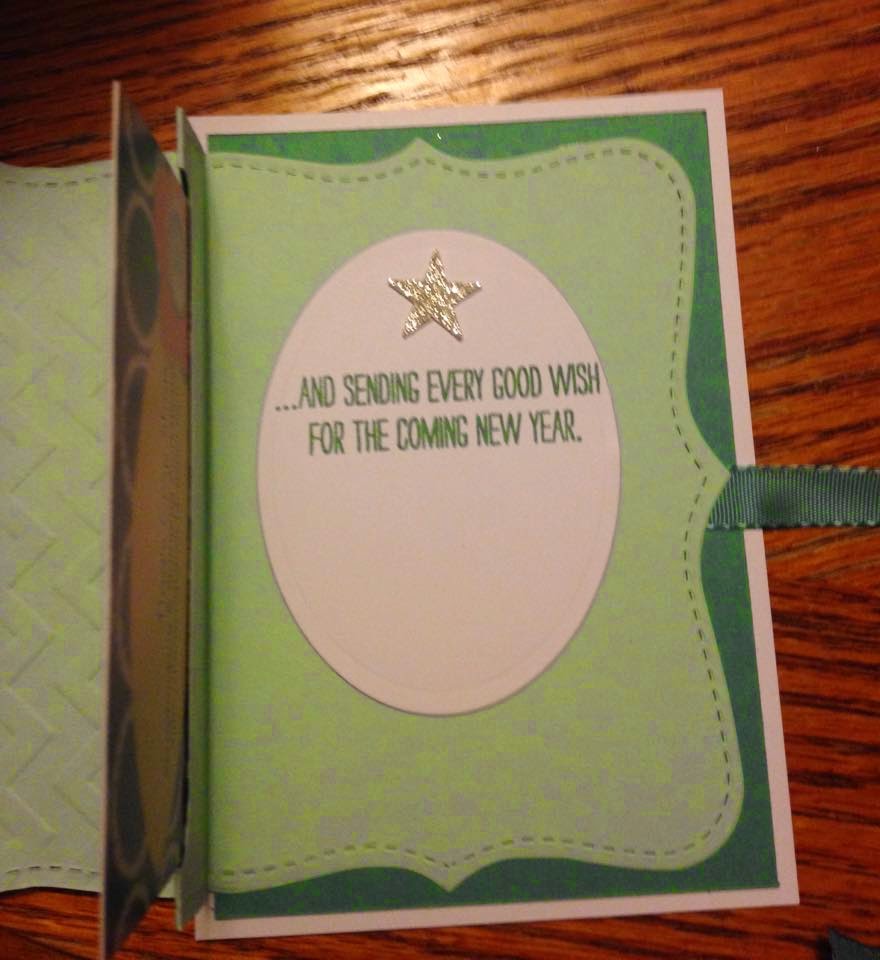
The Stamp Set that I used for the Sentiments is "White Christmas".  It is a super fun set.  I hope you'll check it out if you don't already have it.

Well lots to do today, thanks for stopping by!

Blessings!

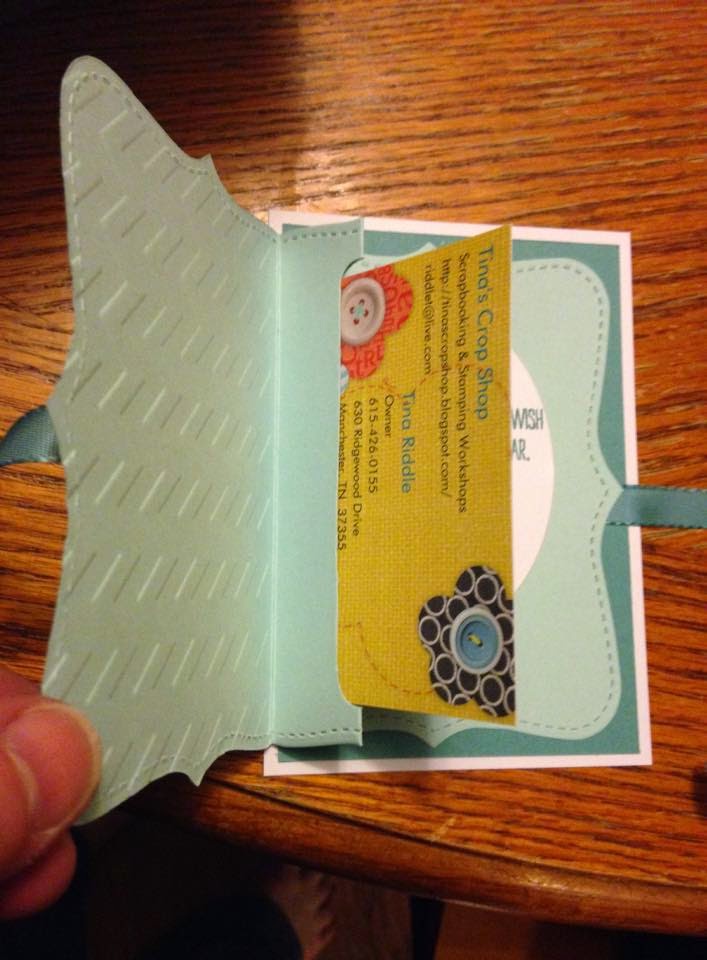
Products Used:  Whisper White Cardstock, Lost Lagoon Cardstock, Soft Sky Cardstock, Lost Lagoon ink on the sentiments, Soft Suede Ink on the tree base, All is Calm Desginer Series Paper for the trees, Silver Glimmer paper for the stars, Top Note Bigz Die, Oval Collections Framelits, Los Lagoon 3/8" Taffeta Ribbon, Pennant Builder Punch, Pennant Parade Stamp Set, White Christmas Stamp Set, Word Window Punch to make the slot for the gift card, Hexagon punch for the banner ends, Chevron Embossing Folder

Thursday, July 10, 2014

Another Challenge Card

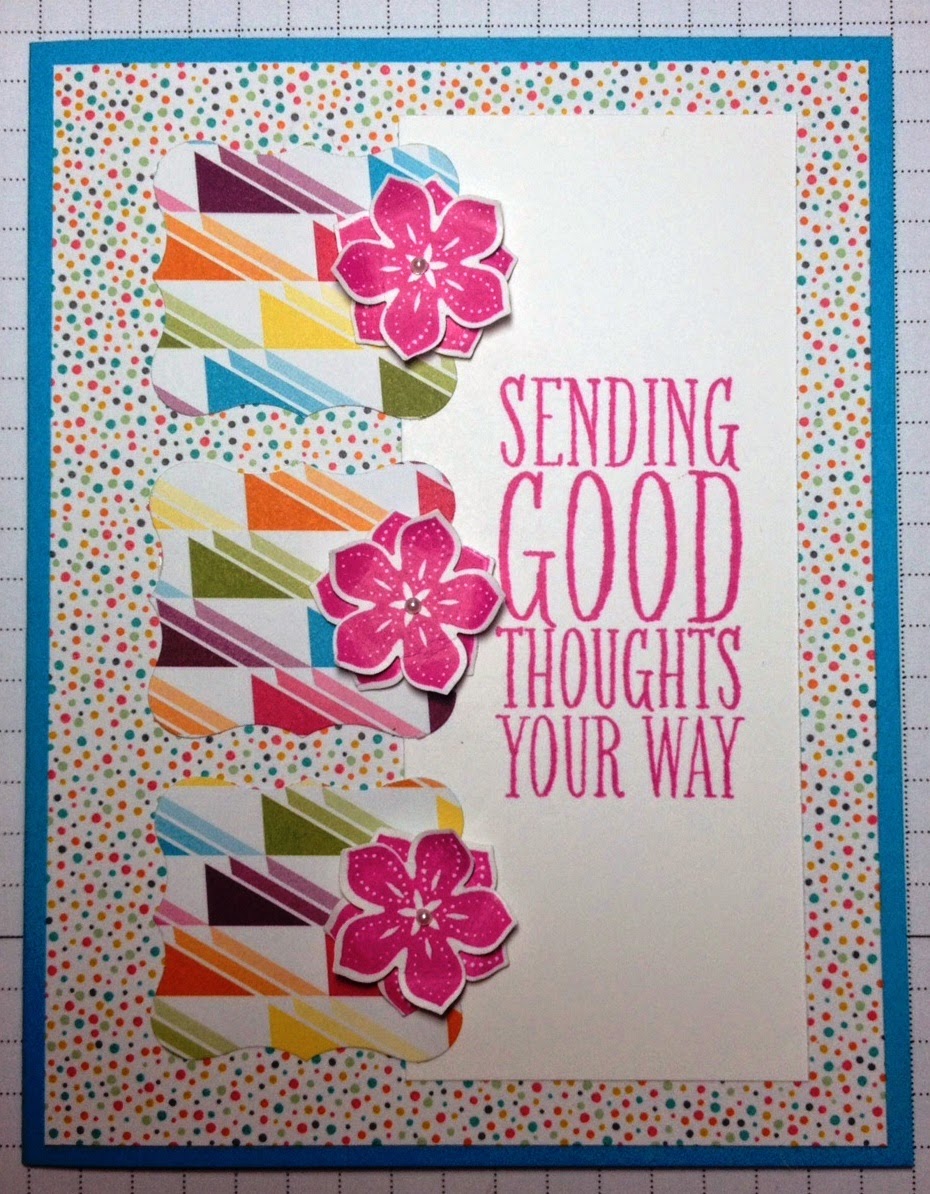
Well I have to be honest... I'm not exactly thrilled with how this challenge card came out!  I've second guessed myself on a few aspects of it already but when it's all said and done....I think I'd give it to someone and that is always my final test!  Should I have inked the edges?? Probably!  Should I have used a more subtle background?? Probably!  Of course when I ask my sweet husband if he likes a card, he ALWAYS says "YES!"


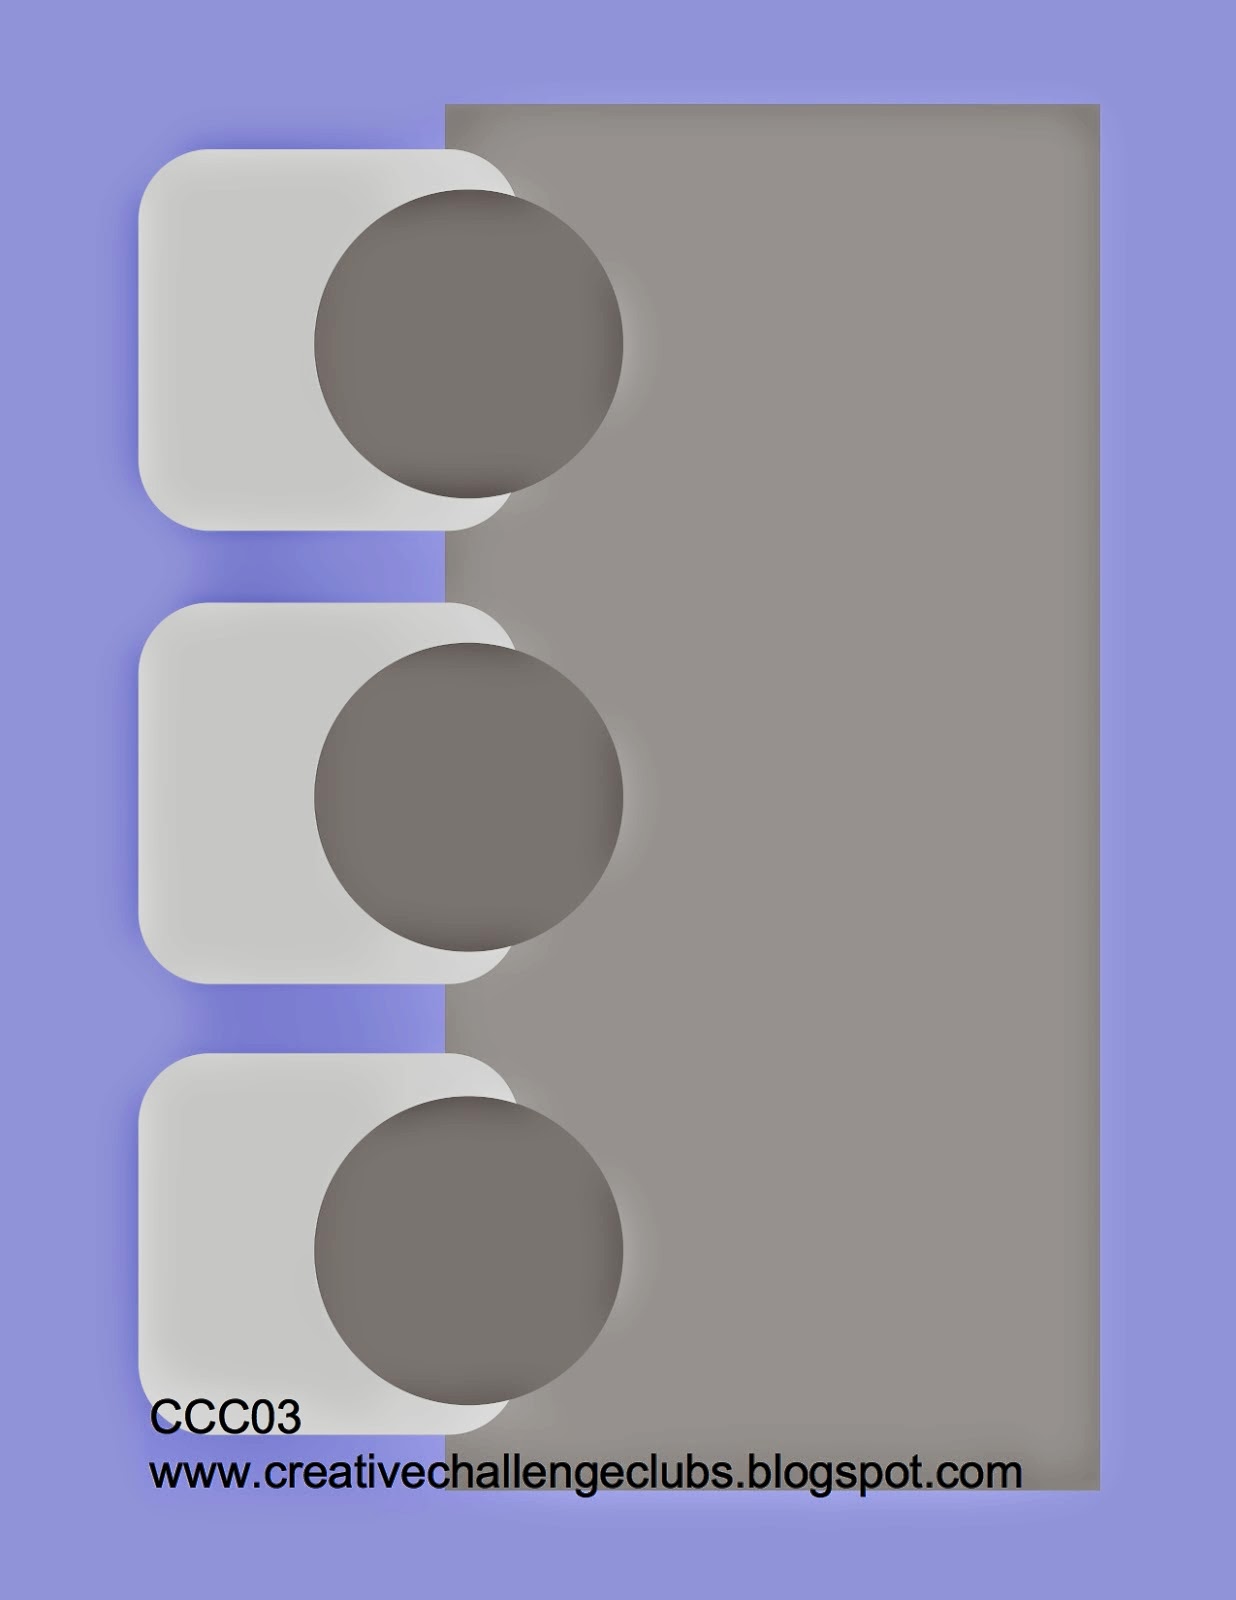
First I'll show you the Creative Challenge Club sketch I had as a guide:

Ok, so here are the things that I DO love about this card, #1) I LOVE the colors, bright colors are my favorite anyway and I especially love turquoise and pink  #2)  I love the flowers!  Flowers just make me happy whether big or small I love flowers!  #3) I love the sentiment "Sending Good Thoughts Your Way"!  Everyone needs good thoughts, right???  

So here is my take on the sketch:  

So if you'd like to link up a card for this challenge, here's the link:  http://creativechallengeclubs.blogspot.com/

I used the following Stampin' Up Products on this card:  Tempting Turquoise cardstock, Whisper White Cardstock, Sweet Taffy and Confetti Celebrataion DSP, Petite Petals Stamp Set, Perfect Pennants Stamp Set, Petite Petals Punch, Curly Label Punch, Strawberry Slush Ink, and Pearl Basic Jewels.

I hope you enjoyed my Challenge Card this week.  Have a great week and be creative!  

Blessings,   Tina

Saturday, June 28, 2014

New Stampin' Up! 2014-2016 "In ColorCollection" Love!


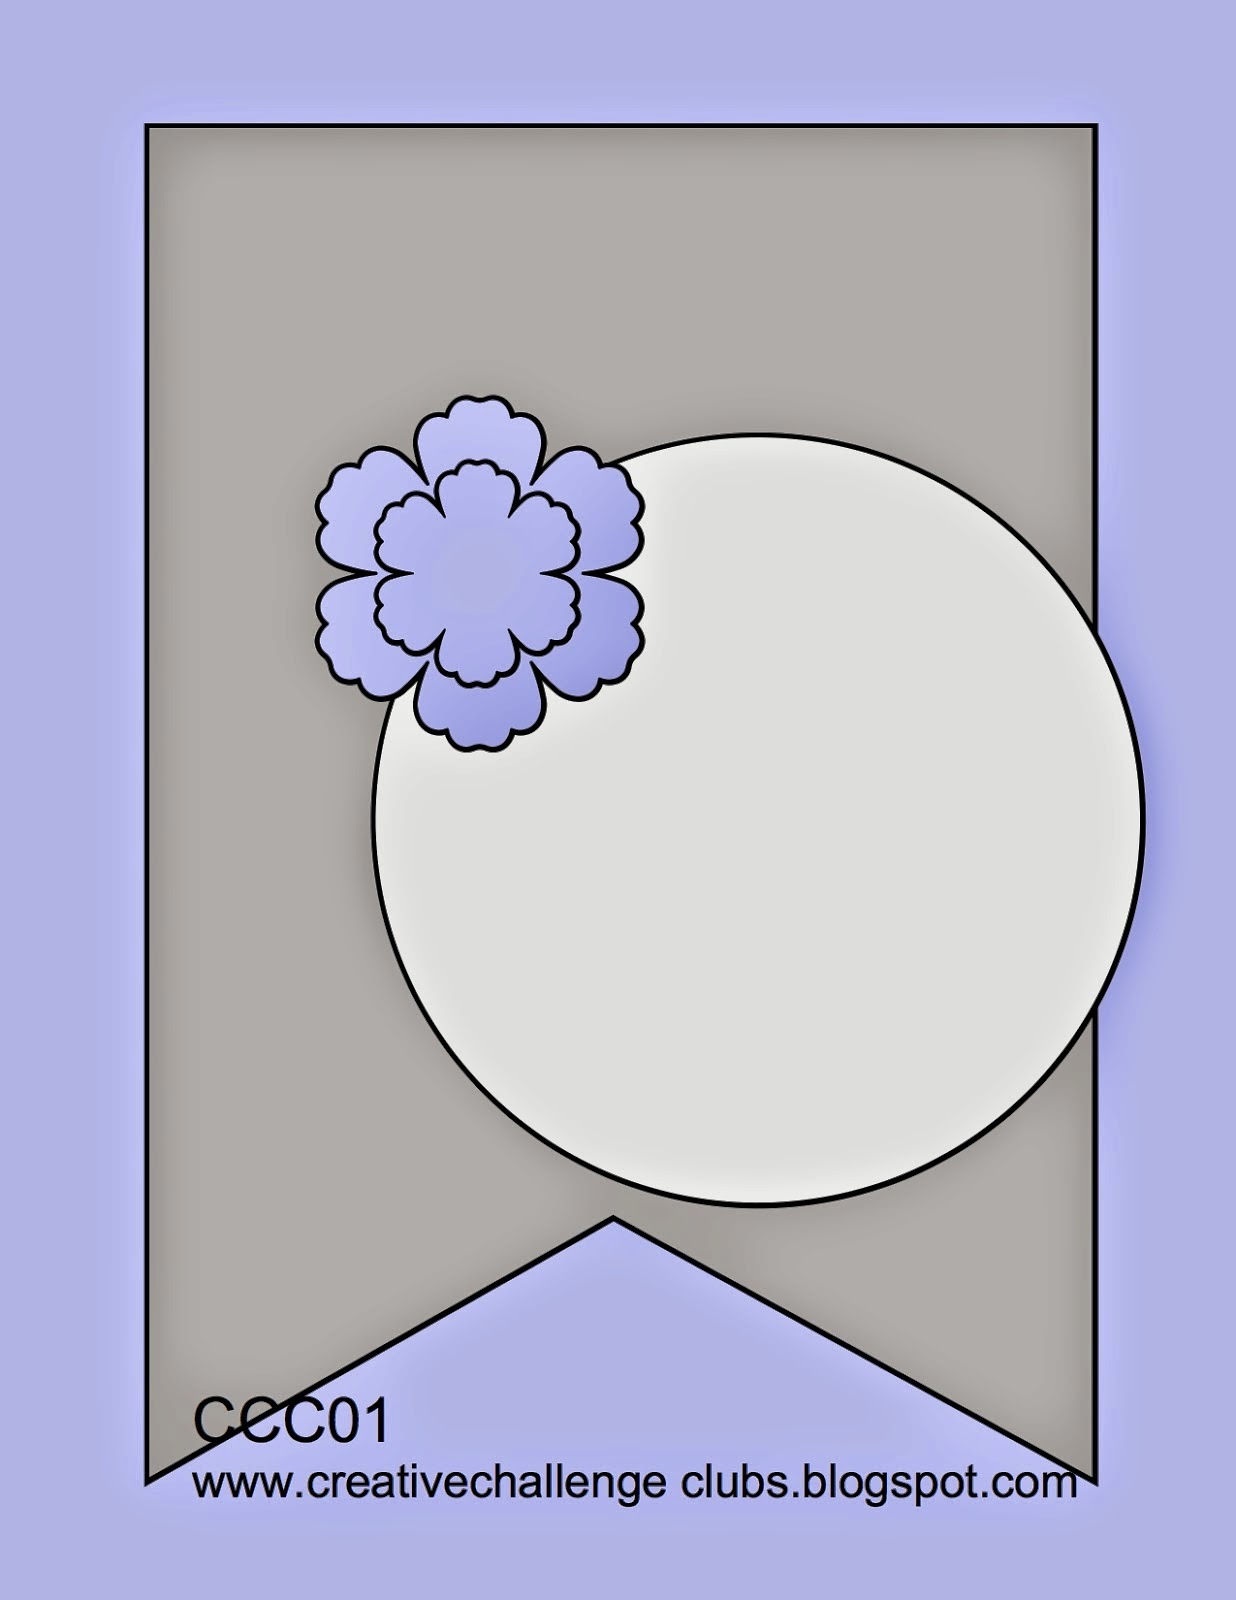
I love to make Challenge Cards. Here is the sketch that I used:


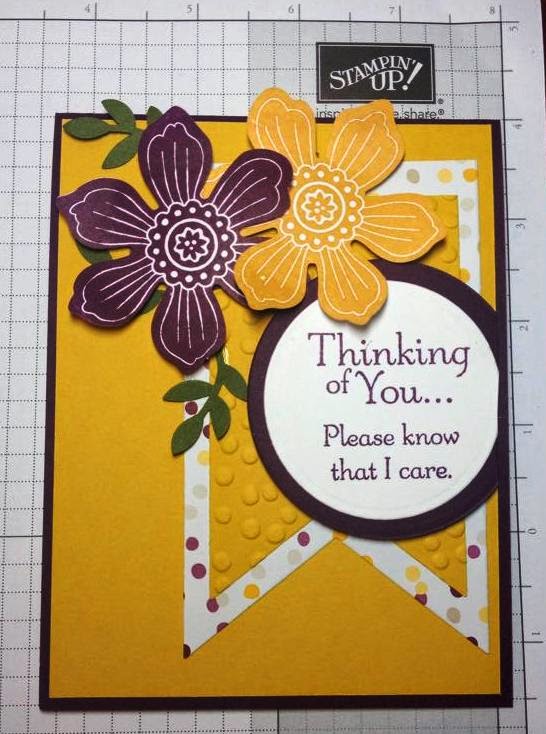
This card was my take on the above sketch that I found on Creative Challenge Club:


The Cardstock Used is from the New 2014-2016 "In Colors Collection" from Stampin' Up! I absolutely LOVE all of these new colors.... For my card I used Blackberry Bliss and Hello Honey! The sentiment I used was from the "Thoughts and Prayers" stamp set. Flowers were stamped using "Bloom to You" that coordinates with the Fun Flower Punch. The Designer Series Paper used is from the "Moonlight" paper stack. I cut the layered banners out and ran the top layer through the "Decorative Dots" embossing folder. I also cut a few branches with leaves with another of the New In Colors "Mossy Meadow" using the Build a Bird Punch. All products used were exclusive Stampin' Up! products!  

Here's a link to the challenge in case you'd like to link up a card as well:

http://creativechallengeclubs.blogspot.com/2014/06/ccc01-sketch.html

Thanks so much for stopping by!  I hope you liked my card and these great colors as much as I do!

Blessings,

Tina

Thursday, May 22, 2014

My First Altered Tag

I love trying new projects so an Altered Tag Swap and Challenge was right up my alley.  I have made several tags but none that I thought qualified as "altered".  The swap I entered had the following guidelines: The Tag size is #8 (6 1/4 x 3 1/8) , it had to have chipboard added to the back of the  to make it sturdy, It had to have at least 3 dimensional embellishments (flowers, rhinestones, fabric, resins, metal, ribbon, trim etc.), and it had to include a stamped sentiment.  Seemed simple enough.  Here is what I came up with..
 
I really loved the way it turned out.  Since I didn't have a pre-cut tag that size, I made my own from cardstock and backed it with chipboard.  I was swapping tags with a sweet lady that lives in Iowa, so I used an old Atlas page of Iowa on the background.  The "moments" sentiment and the butterfly and postmark were embossed with black embossing powder.  The sentiment "follow your passion, let that be your destination" was stamped in brilliant blue Stampin' Up! Ink onto white cardstock and then words cut out and glued on the tag.  The ink matched the blue on the atlas paper perfectly.  I used Stampin' Up! Beautiful Wings Sizzix Embosslits.  I just LOVE how they cut and emboss and that it has 4 different sized butterflies. The flowers were punched out of both blue Stampin' Up! Cardstock as well as atlas paper and layered with a Pearl embellishment in the center.  The leaves behind the flowers were punched with the Stampin' Up! Bird Builder Punch.  I daubed a little black ink on the edges of the butterfly and part of the embossed portions so they looked a little more "antiquey".  I added a strip of washi tape to the bottom, glued on some sequins here and there and added a black fiber ribbon and that was it.  I was pleased with how it turned out.  I hope you like it and that you will try one as well. 
 
Thanks for looking!  Stay crafty and cherish your blessings! 
 
I'm also entering this tag into the Pinque Peacock Challenge, click here to link up your altered tag:  http://pinquepeacockchallenges.blogspot.com/2014/05/challenge-5-altered-tag.html

Thursday, May 8, 2014

See Ya Later Alligator

Oh my, have you noticed all of the cute alligator punch art cards on some of the card sharing websites and Pinterest lately?  I have seen so many great ones.  Some have the entire card shaped as an alligator and some just have the alligator on the card. 

Once I received the "See Ya Later" Sale-a-bration Stampin' Up! stamp set I just KNEW I had to try this alligator punch art!   Since I didn't have the SU Petite Pennants Builder punch I improvised and cut out a free-hand triangle with 2 sides longer than the 3rd for the head.  For the teeth, my intention was to use my pinking hearts border punch strip but when I punched the hearts I noticed under the punch was a perfect little zig zag strip that made fabulous teeth!  I cut out a banner and then I actually did something I have never ever done ....  I stamped the see ya later, Alligator sentiment without stamping the alligator image (I covered it with Washi Tape when inking, and then I colored in the alligator with a green Stampin' Up Marker so that when I stamped it, I ended up with a green alligator.  I liked the way that turned out.  But, my very favorite part of this project was the cardstock. I used the coredinations "Gumball green" cardstock that I had purchased on clearance and I ran it through my big shot in my distressed dots embossing folder.  Once the cardstock was embossed I sanded the dots and I absolutely LOVE how they turned out!  I hope you will too! 


Friday, October 4, 2013

Acorn Greetings Starburst Design Card

Oh how I LOVE Fall!  I received Unity Stamp Company's Acorn Greetings stamp of the week set a few weeks ago and have wanted to make some Thanksgiving cards with it from the moment I saw it!  Today I had a little extra time on my hands and decided to try it with a new technique called Starburst.  Here is my card...
 
 
So here are the steps in case you are interested:

1)  Cut 4 rectangles 4" x 1 1/2" with 4 different coordinating patterns of double-sided paper.

2)  Cut your rectangles diagonally to make 8 triangles

3)  Flip over 4 of your triangles to show the 8 different designs and then arrange them in the order that you want them placed
 
4)  Cut your neutral color cardstock to 4 3/4" x 3 3/4". ( This is what you'll be attaching your triangles to). While holding the cut cardstock vertically, score  at 1 3/4" (This will be the bottom of the top layer that you will decorate, stamp, etc).  Then flip cardstock to horizontal position and score to divide the top of it in half, so you'll be scoring at 1 7/8" from the top of the card down to the score mark that divides top from bottom.
 
5) Decorate, stamp, or whatever you choose the bottom of the neutral cardstock.  Here is mine..
 
6)  Add adhesive all over the top of your cardstock from the bottom score line all the way to the top.
 
7)  Using the middle score line at the top as a starting point, add your triangles.  You should be able to get 4 on each side.  Do not overlap!  Just put each triangle right up next to each other. 
 
8)  Flip over and trim off the excess DP
 
9)  Cut a narrow piece of cardstock across the base of the starburst (this will cover up the small empty spot left on each side) 
 
10)  Cut a piece of ribbon to approx. 8 1/4" and wrap around a small bottle (I use my spray stamp cleaner bottle) and tie ribbon in a knot and then slide off of the bottle.  Once off the bottle, cut the back and use a glue dot behind the knot to glue to the middle of the thin strip.  Apply a little adhesive to glue the rest of the ribbon down and wrap to back like this..


11)  Cut a piece of cardstock to 4" x 5 1/4"  (use the same color that you used when you can the thin strip)  Once cut, use a die or punch to trim the bottom edge.  You'll mount your card top on this.


12)  Finish by attaching this all to the front of your card base ( 4 1/4" x 11" scored in half) and here's what you'll have....
 
 
I know this seems like a lot of steps but once you've done one, it's really pretty easy as long as you have the measurements down!

Here's what I used on my card:  Stamp: Unity Stamp Co. SOTW Acorn Greetings, DP: Imaginisce, Apple Cider, Cardstock from my inventory, Ink: Stampin Up! Creamy Caramel and Momento Tuxedo Black, Ribbon from my inventory

I'm going to enter my card in Love's Rubberstamps Challenge Anything Goes

I hope you've enjoyed my card!


Hugs & Blessings, Tina

Wednesday, September 25, 2013

Unity Stamp Co. Tag A Day Challenge

This week Unity Stamp Co. is having a Tag A Day Challenge so I decided to have a little fun and play along. This Challenge is on Unity's Show and Tell Facebook Page found here: https://www.facebook.com/groups/434773279941105/

 Here's my tag for today:

 
I decided to create my own woodgrain tag by embossing a tag that I had inked in Colorbox Fluid Chalk in Chestnut.  I chose daubing the brown ink in because I felt like the light and dark effect of the process would add more visual interest than using a solid brown cardstock.  I inked the tag first and then embossed and I absolutely LOVE the way it turned out.  It looked so good I didn't want to cover it up.... so I didn't.  I put my bird to one side and the sentiment to the other and I was thrilled that so much of the woodgrain still showed! 
 
The stamp set I used was a Stamp of the Week Stamp set called "Bird with a French Fry" by Unity, you can find that stamp here: http://unitystampco.com/shop/bird-with-a-french-fry/
The woodgrain embossing folder was by Darice, Tags, cardstock, and DP from Inventory, Coloring of bird and flowers was done with Copics, and Inks Used were Memento Tuxedo Black and Colorbox Fluid Chalk Ink in Chestnut.
 
Thanks for stopping by!  Hugs & blessings!  Tina